House Hunters International
MapS ANIMATION Workflow
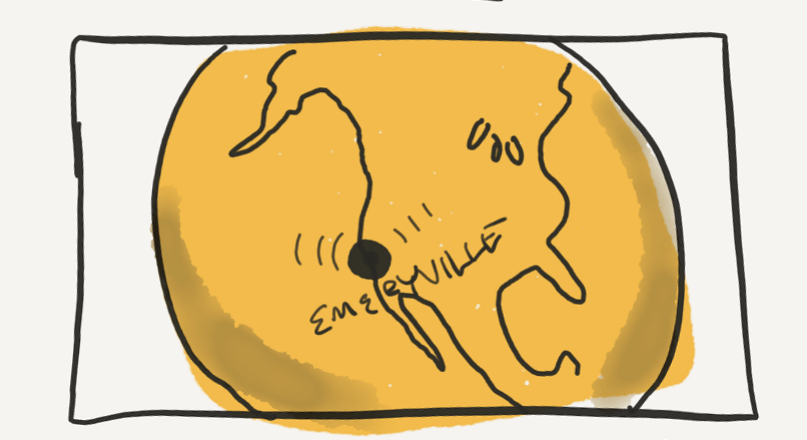
In October of 2015, I took over a position in Motion Graphics for the daily reality show House Hunters International on HGTV. In each episode, a set of contributors browses three houses in another country and chooses one to move to. The country is displayed on an animated globe and the property locations are animated onto a map of the city.
As I began to understand the workflow that had been constructed to meet the design needs, I discovered that many of the animation methods used were incredibly labor intensive (the workload had to be split over three designers), frustrating, error prone, and because of all that, the end results had been inconsistent.
My job quickly became not to make maps, but to make a machine that would make maps.
Deliverables
There are two types of animation deliverables for each episode.
A Globe Animation, which shows the earth rotating from the episode contributor's starting country, to their destination country.
Three separate Map Animations (one for each property). In these, a map of the city shows iconic landmarks and locations, while a pin drops on the map to indicate where the current property is located.
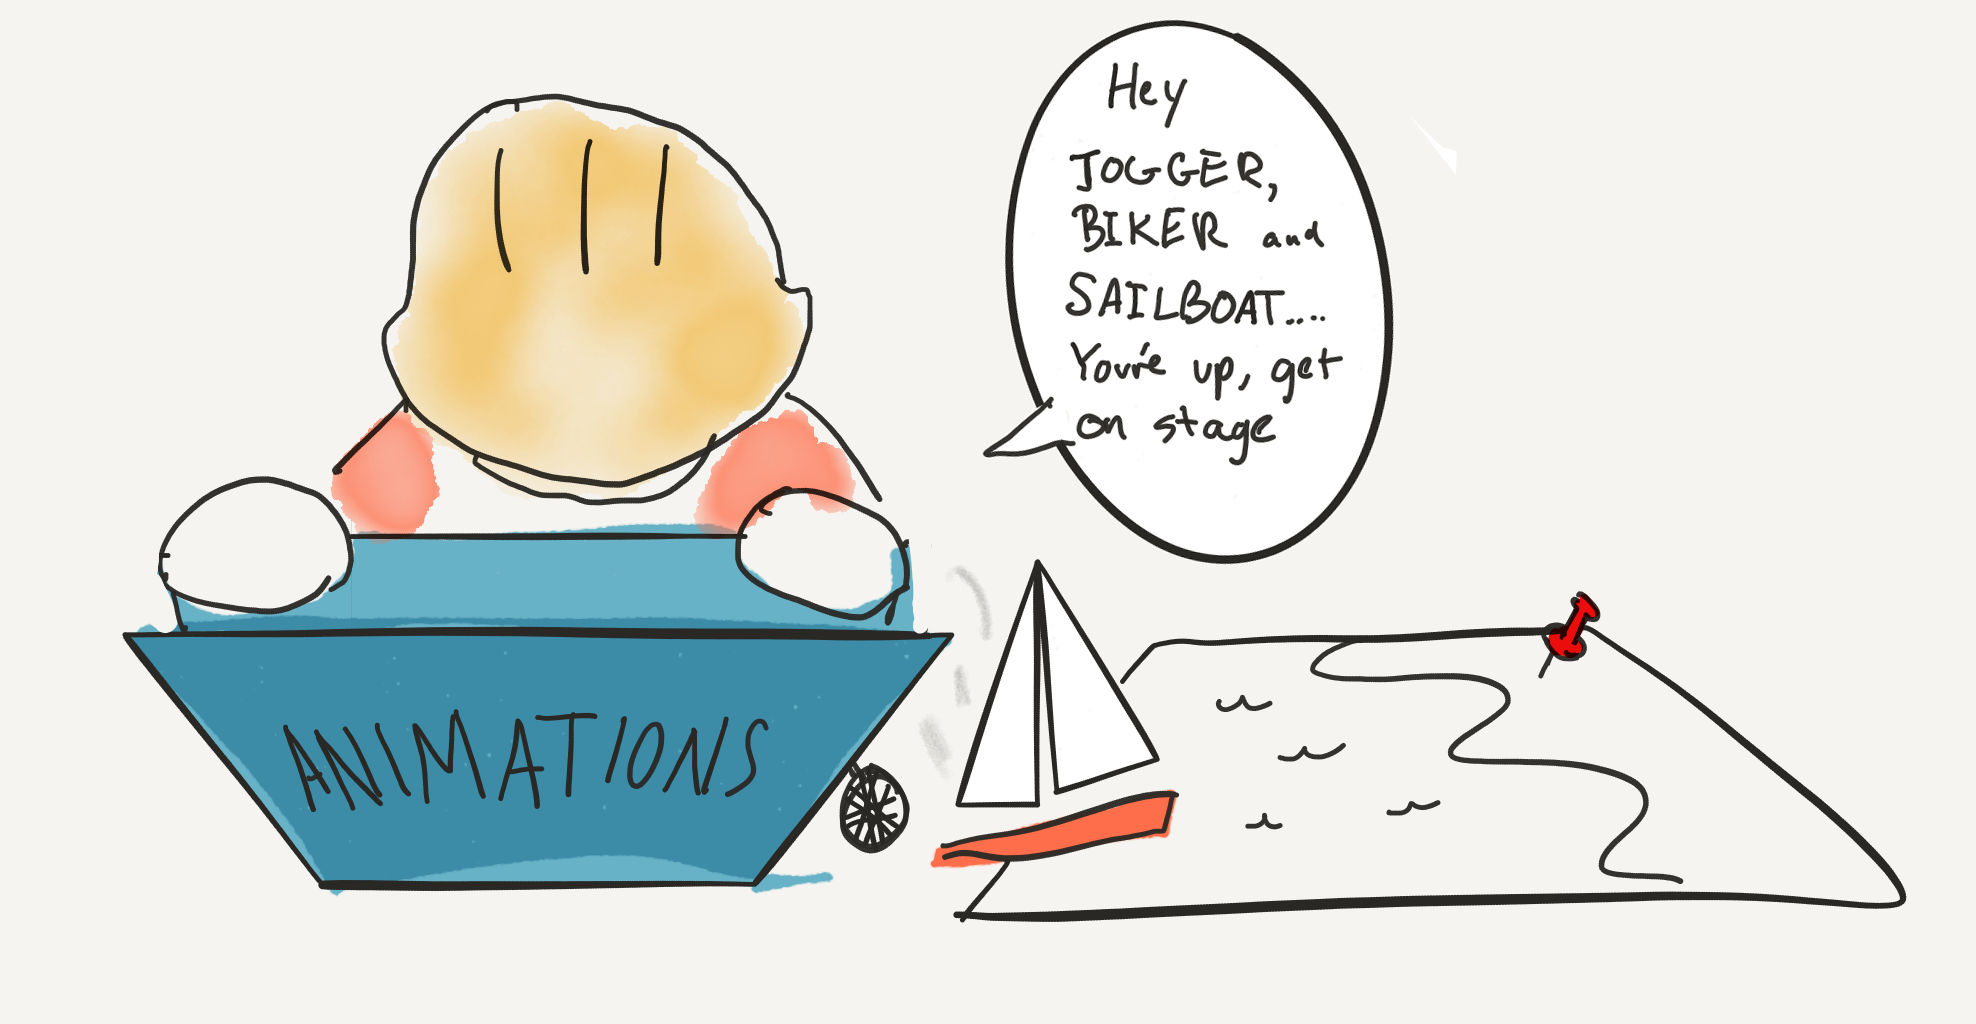
Globe Animations are very template-based but the heart of Map Animations is the dynamic camera move.
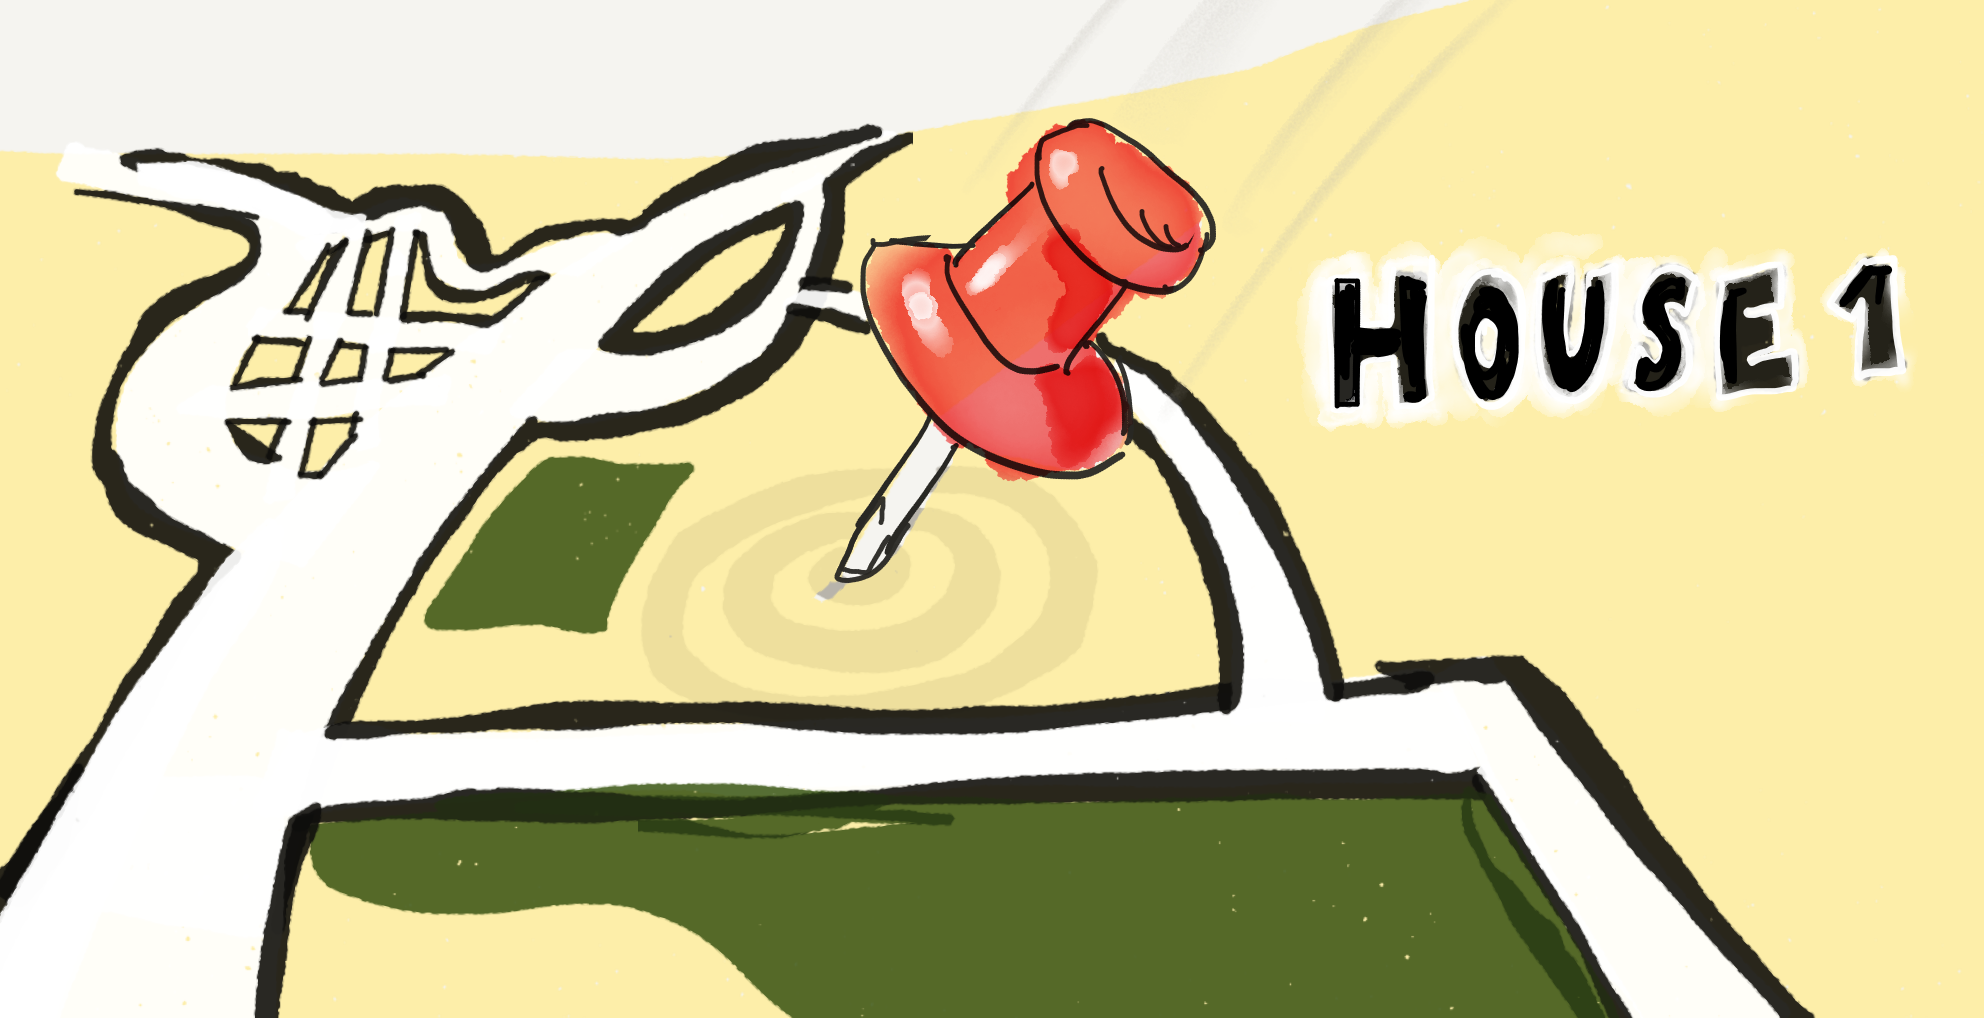
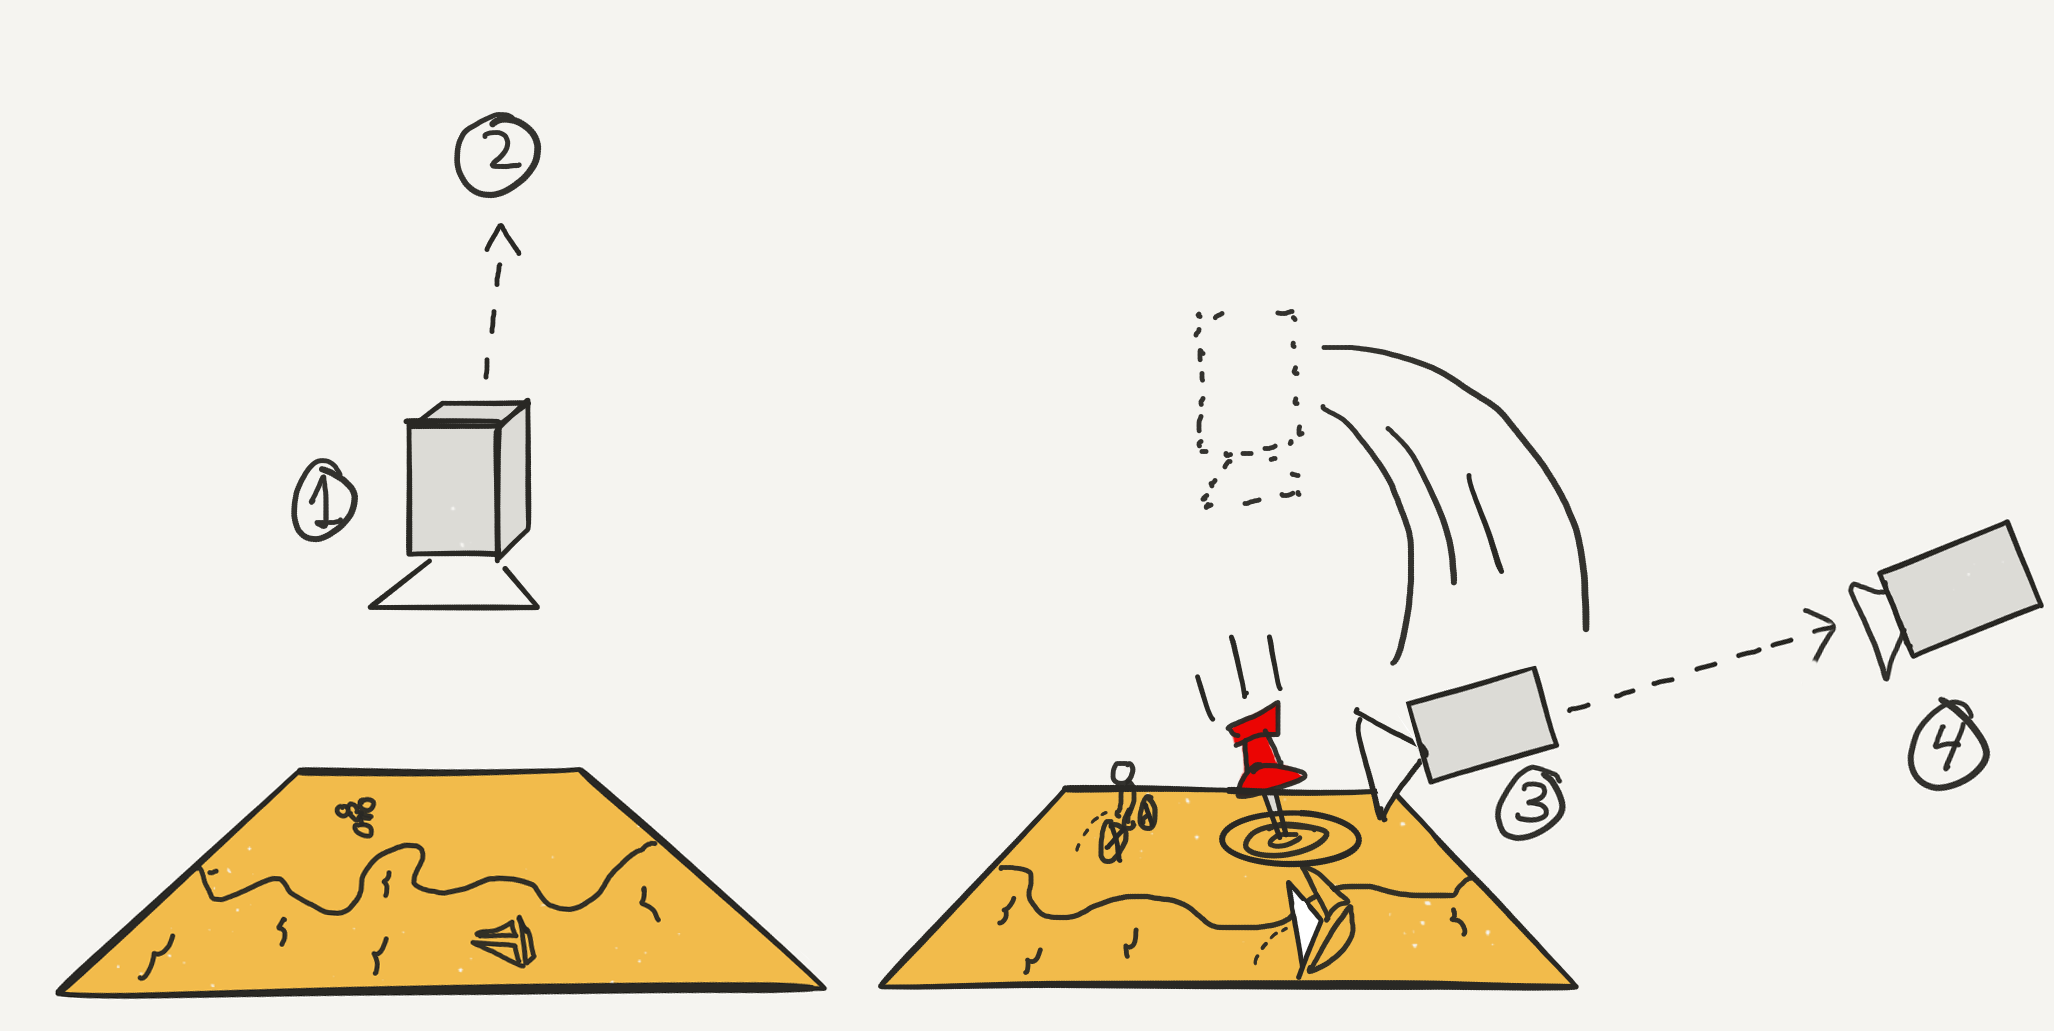
The camera begins by looking down from overhead at a map that appears simply two-dimensional; the camera begins to pull back and suddenly, dives down to ground level leveling out towards the horizon as the map comes to life! The camera zooms into a specific point where a pin slams into the ground, radiating waves from the impact and a label appears... "House 1." We slowly pull back to reveal the entire expanse, the map now a landscape stretching out into the horizon, the camera drifting and the local population going about their business.
Beginning to Craft Solutions
There were many inefficiencies built into the workflow when I arrived, and I began attacking the ones that would free up the most time to work on other parts of the workflow.
The first was to make anything that could be automatic, be automatic. The icons that needed to be tediously keyframed to stand up when the camera dives in, were quickly solved by connecting their rotation to the camera's with an expression.
The second was to discuss render sizes, as the previous generation of maps were delivered as 6k stills for historical reasons, and the current workflow began with 6k files. I began rendering all compositions at our deliverable size, and render times decreased dramatically.
The third was to set the entire department up with Asana to keep track of the 10+ maps in progress at any one time.
Solution Four: Alfred gives me instant access to only current Map After Effects projects.
The fourth was to begin setting up Alfred workflows to handle common tasks and add keyboard shortcuts to anything from duplicating template folders, to searching a refined list of maps, to jumping to a new browser window open to Google Drive, to opening the most recent renders on the whole system.
The fifth way I sped up the workflow was by automating almost the entire process from start to finish, and building an easy, accessible, interface on top of that automation.
An Animator's Best Friend
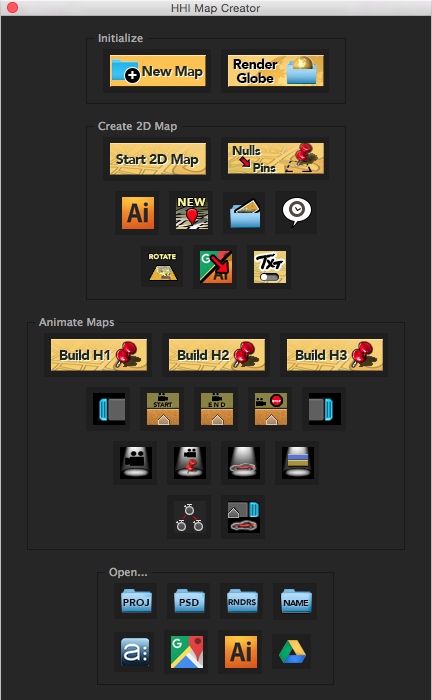
The headquarters of the entire streamlined workflow is a custom After Effects panel (technically an ExtendScript with ScriptUI code) that does everything from initializing a project, to adding icons, to automatic animation, to storing and launching web links.
This panel is both a user's Scout Master and Swiss Army Knife, guiding the user from one step to the next while always empowering them to perform project-specific actions immediately.
The UI is designed so that, over the course of a single project, the user progresses across and down the column, with larger buttons indicating transitional milestones, and smaller buttons indicating utilities that can be accessed at any time.
This single panel workflow adds a narrative flow to the tasks. As many maps can be worked on throughout a day, it's important to be able to jump into a map, assess the next step (usually tracked in Asana), and quickly move forward with a minimum of context-switching fallout. The standardization of workflow in Asana, echoed in this panel, adds structure to the over arching project and leads the user ever forward.
Shall we go on a tour of the buttons and why they do what they do?
INITIALIZING A NEW PROJECt
New Map launches a series of dialogs to ask the user for all project details: episode number, location names, annotated Google map link, Google drive folder, etc. These are stored in a text file within the (newly-copied-from-template-and-renamed) project folder.
The script asks the user for all the input, stores it locally, and copies and re-names the template.
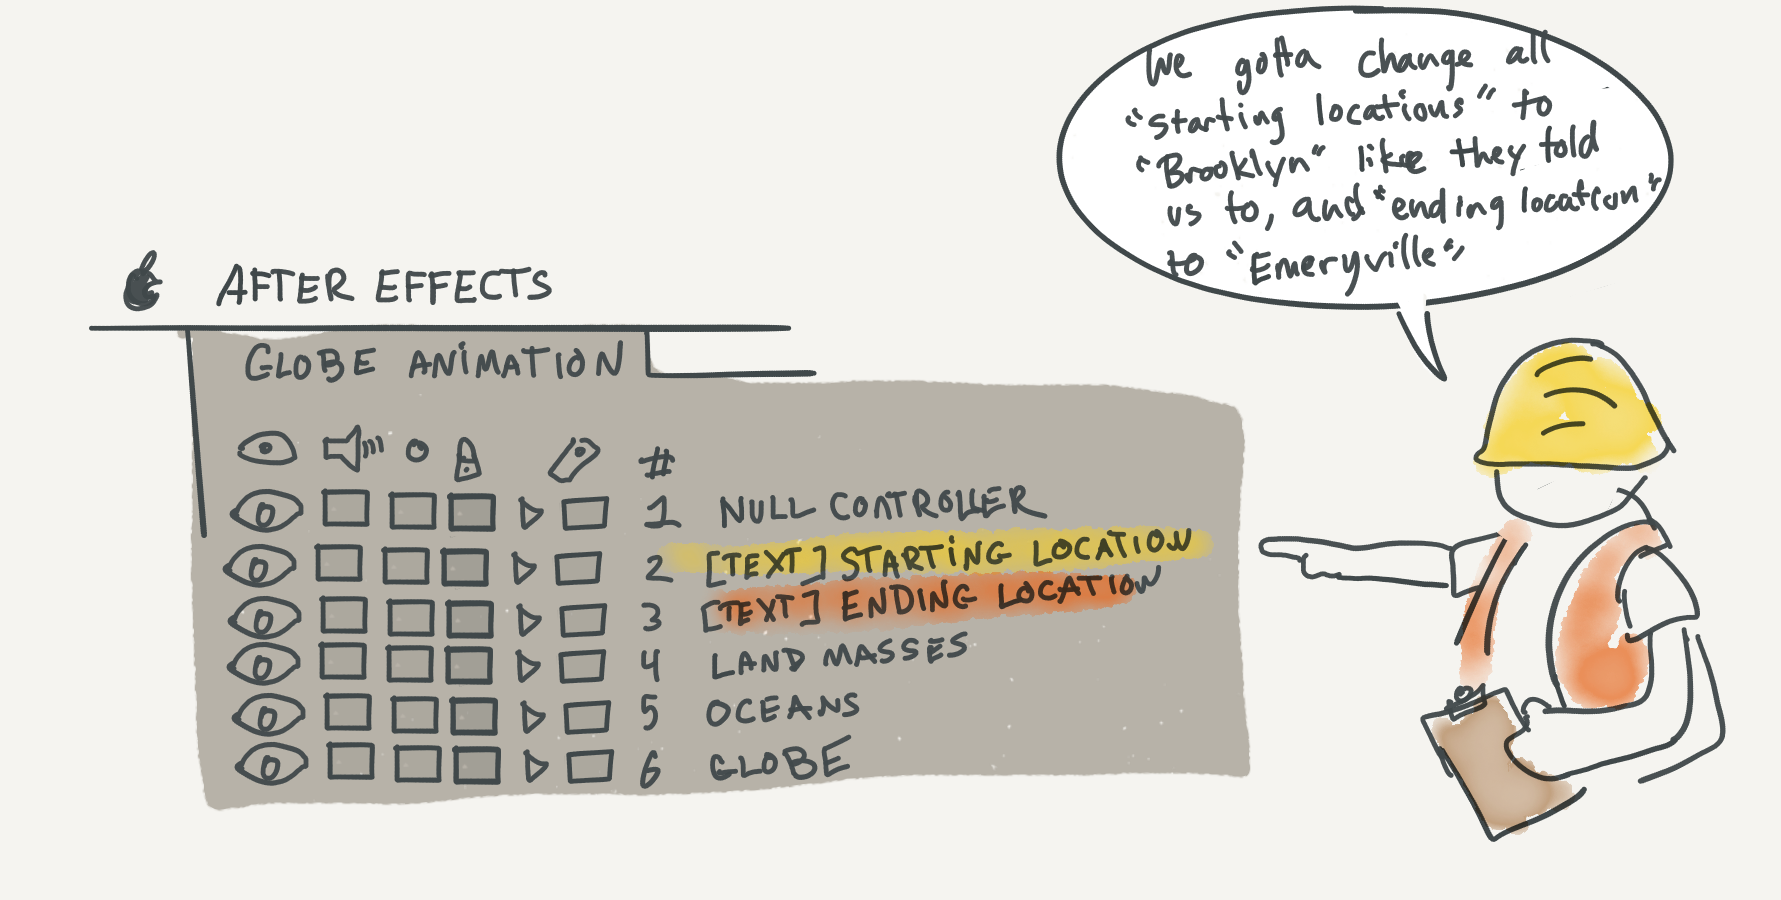
The script updates all text layers to project specific locations
After all files have been copied, the script automatically opens the Globe Animation After Effects template project, renames the internal comps to project specific versions, and updates all location label text layers to the names entered in the earlier dialog.
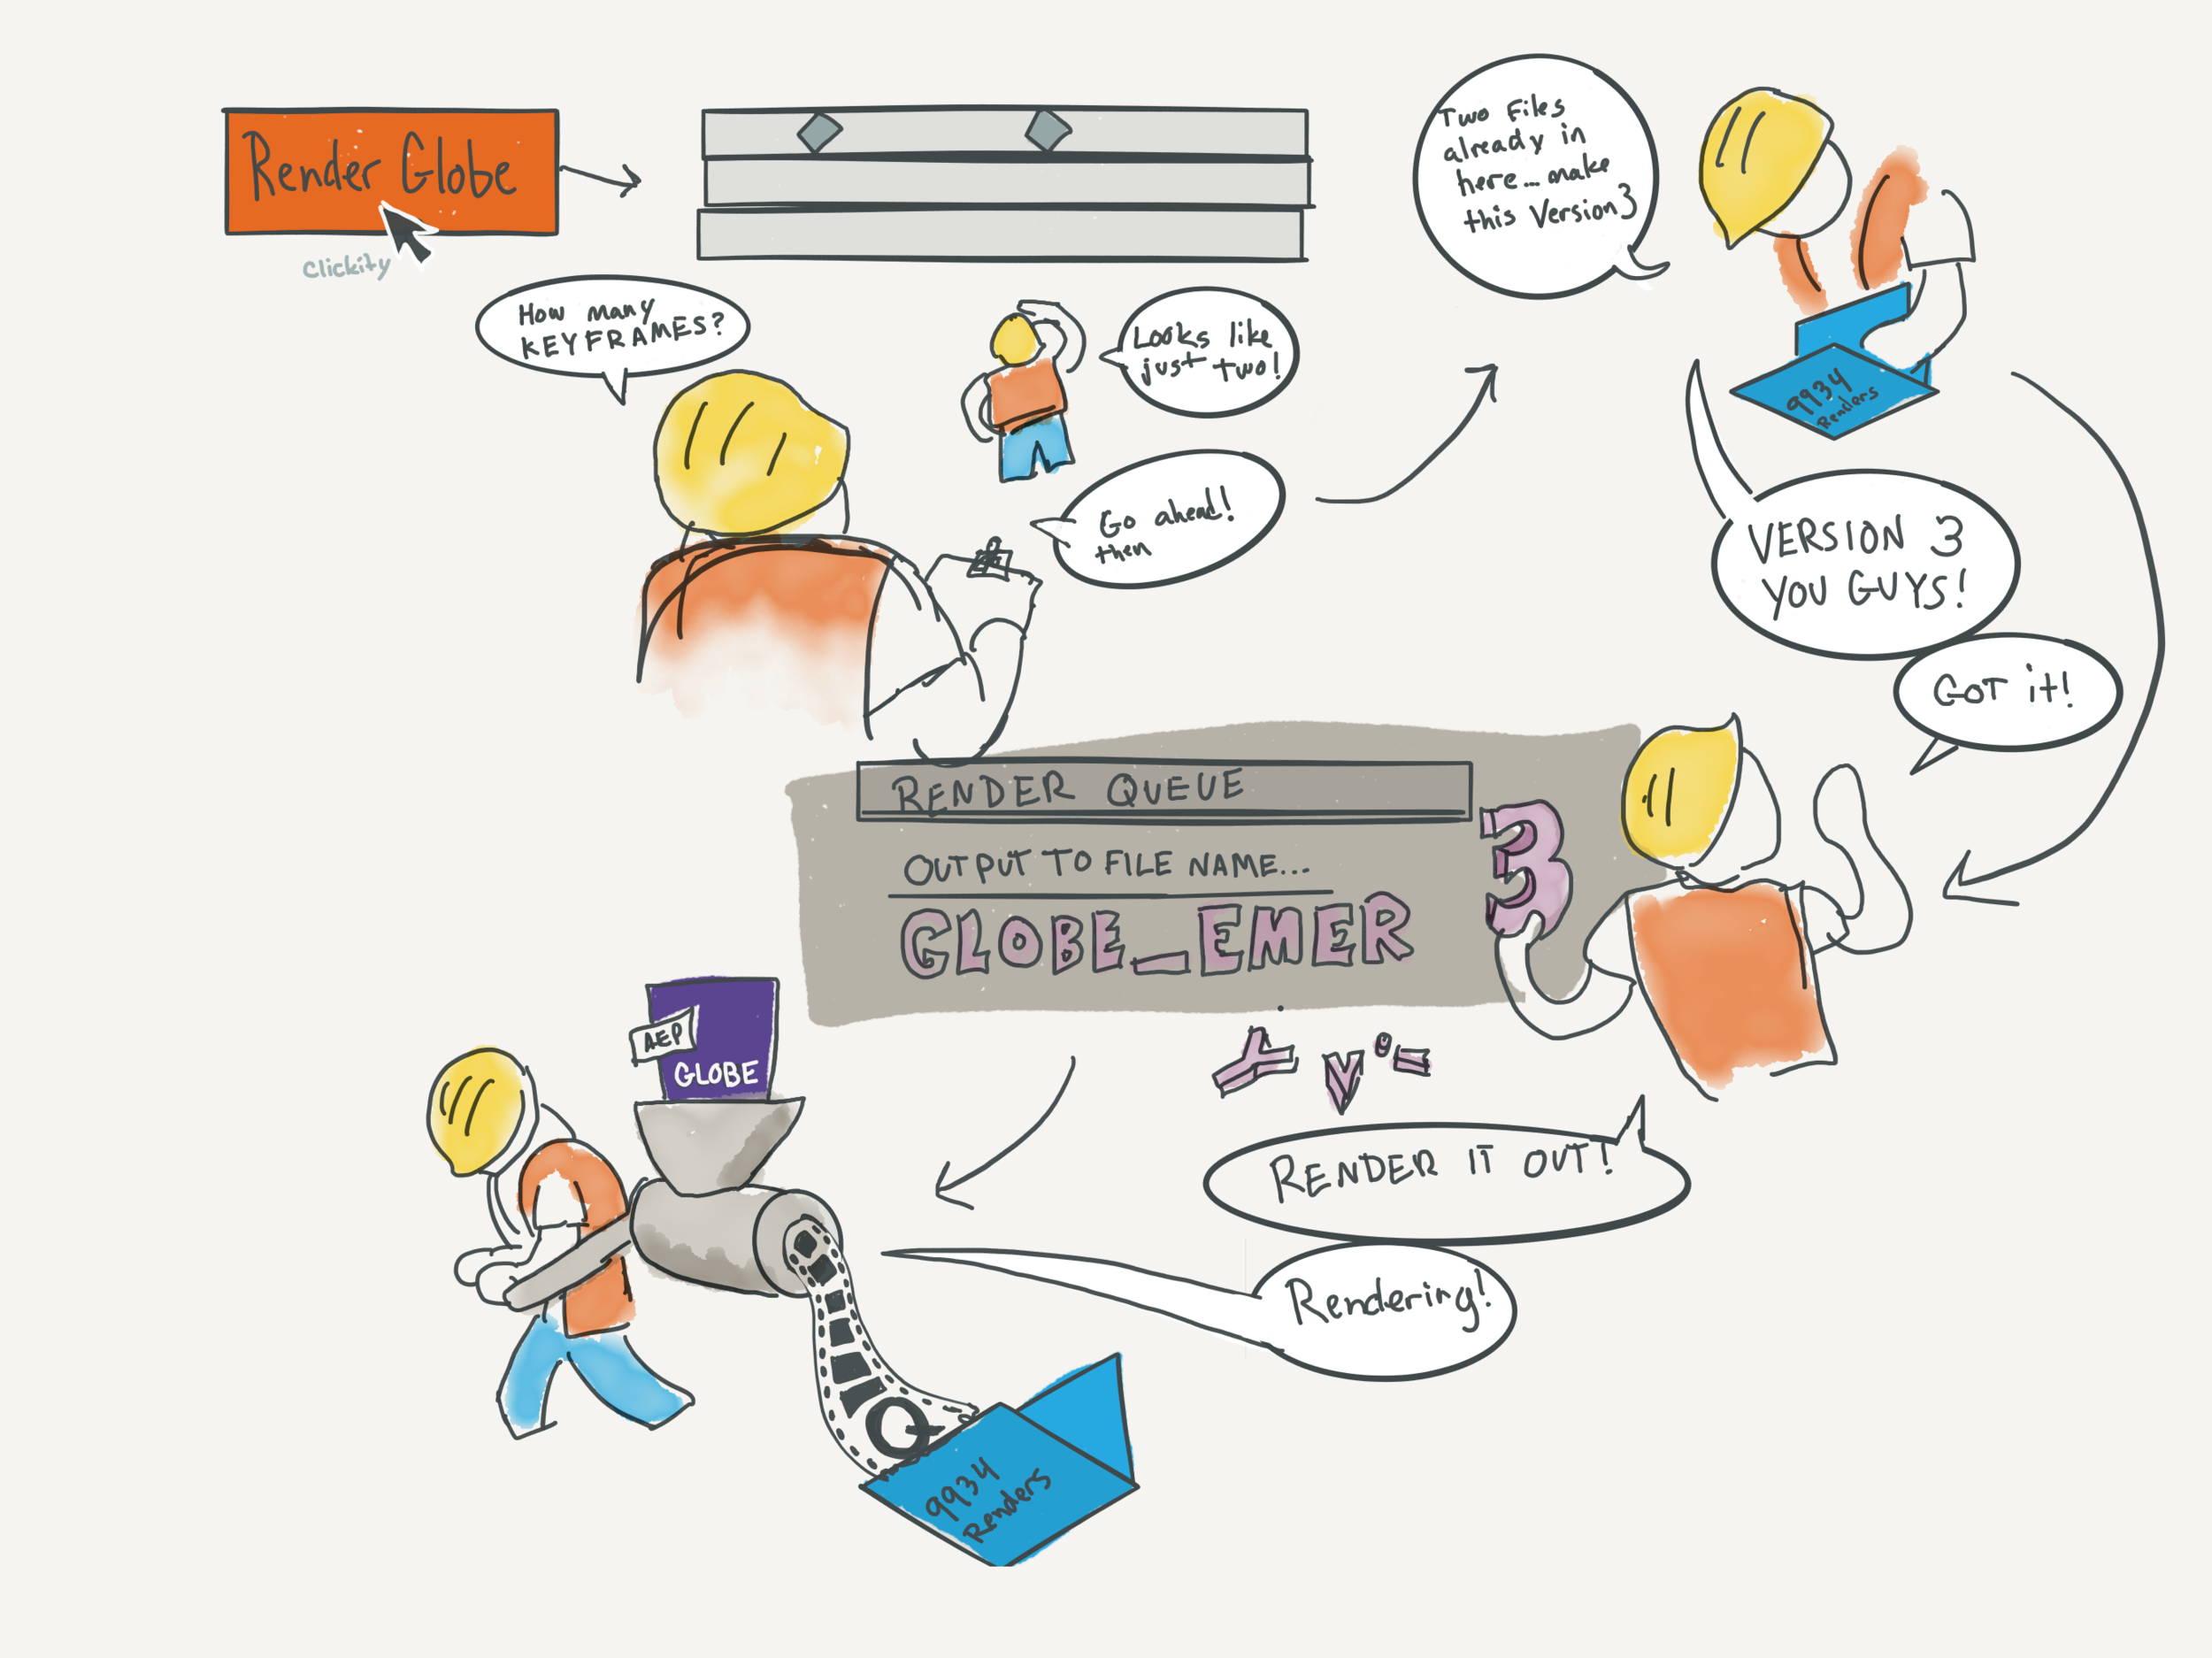
After some aesthetic choices are made by the user, output rendering is handled by clicking the Render Globe button. But not just a simple renderer: first, the script checks for any stray keyframes on the globe layer (frequently, keyframes have to be created at the wrong time for best visibility and then moved to the correct time); second, it counts files in the render folder to properly name this Globe version; third, the script creates the rendered output with the proper name and location, then turns off all text layers and renders a textless version for international markets.
None of these functions are groundbreaking algorithms, but they all collapse tasks and reduce redundancy, workload, and cognitive load by a significant factor. The only decisions to be made are the creative decisions, all housekeeping is handled by the code.
Building the Map
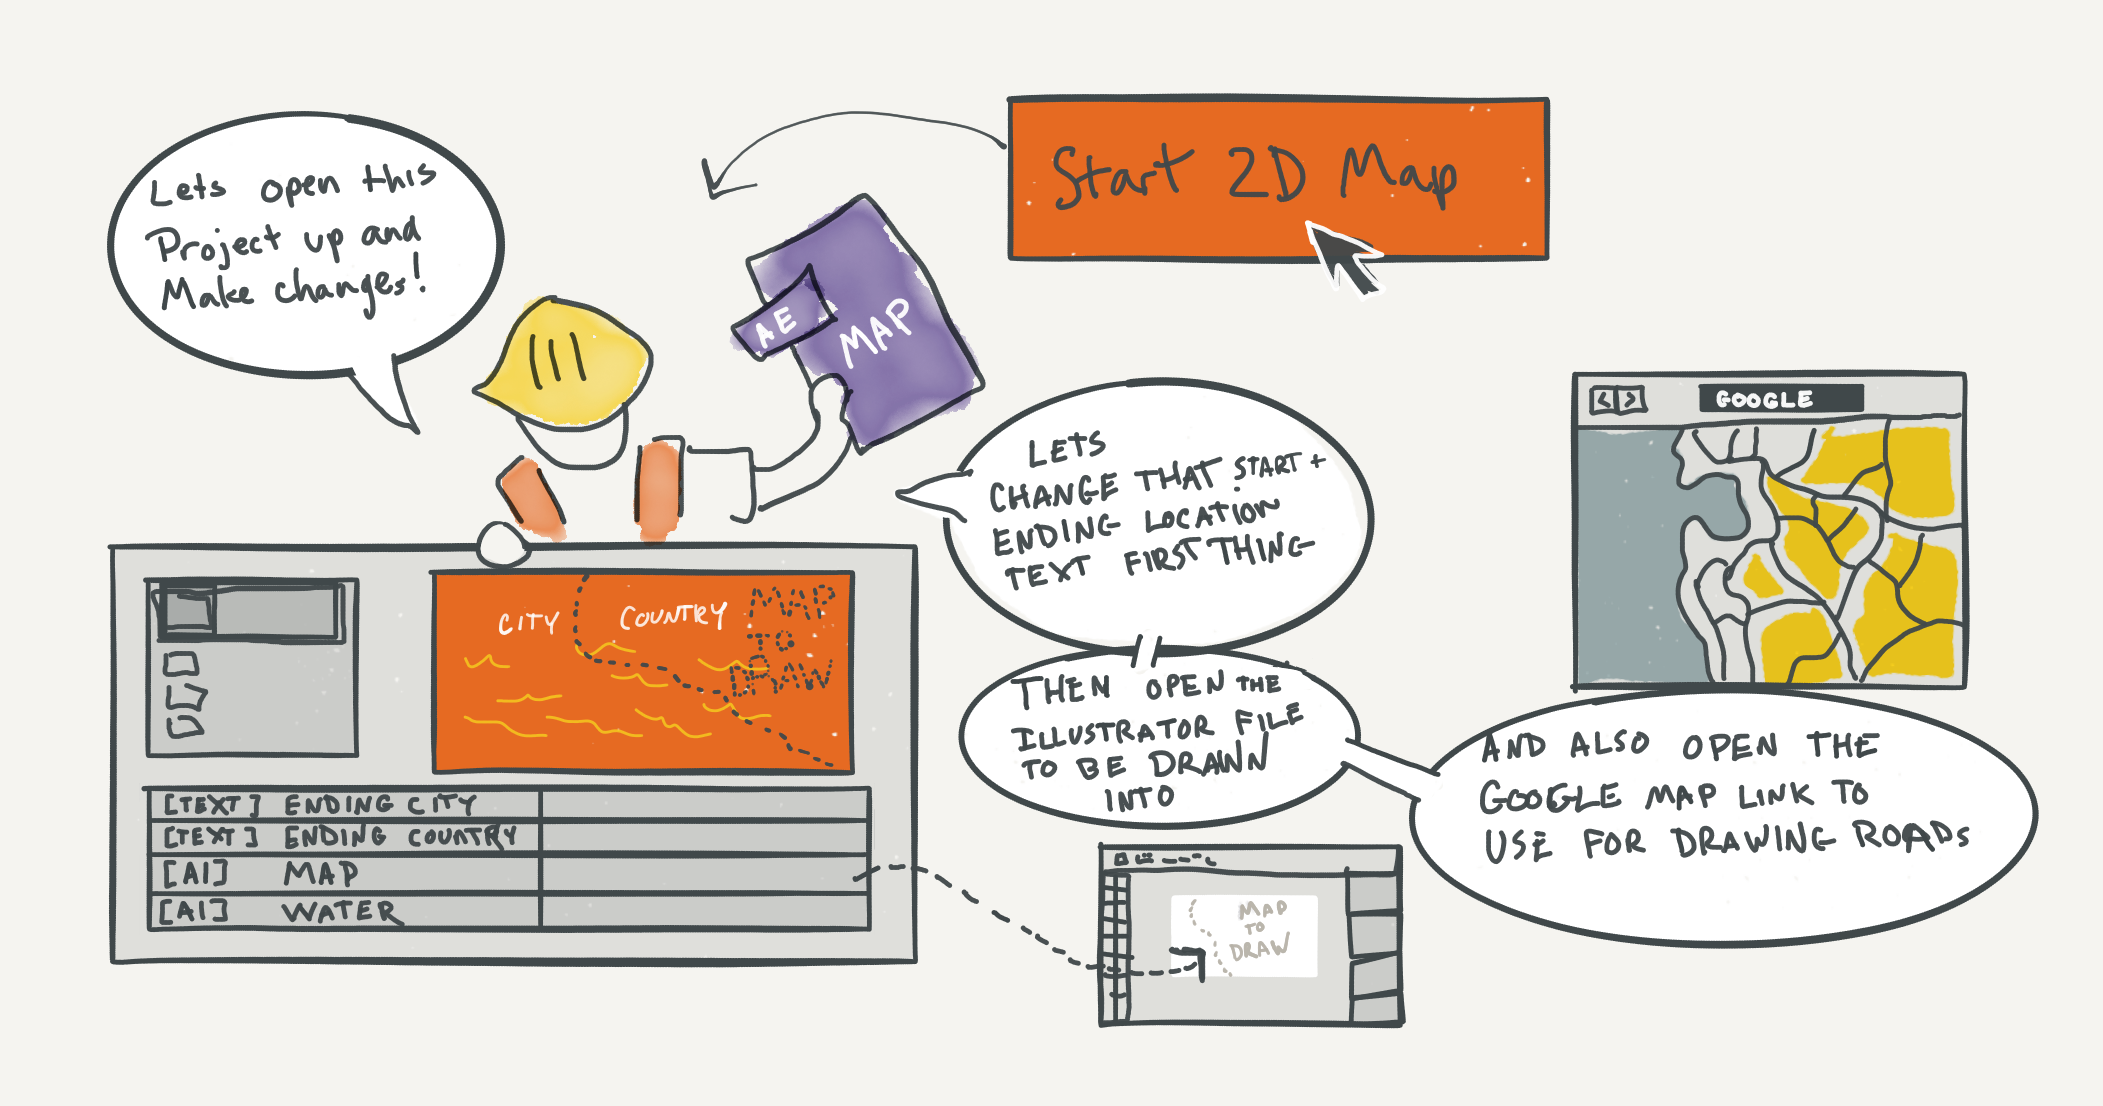
Once the Globe Animation is rendered, the user clicks the "Start 2D Map" button.
Here is where the script truly shines:
- it opens the renamed-but-as-yet-unchanged-from-template Map project
- it changes all text layers to proper location names
- it replaces the generic template map with the currently empty, proper Illustrator document that will contain the landscape
- it styles the (still empty) Illustrator layers
- it opens the link to the annotated Google map in Safari for reference
- it opens the (still empty) Illustrator document and prompts the user to "start drawing"
With this, minutes of detailed, painstaking, housekeeping are done in a moment; no thought needed, always correct, practically instantaneous. The user only has to press a button, and start drawing.
Again, this code isn't life changing, but it streamlines the process immensely and reduces the cognitive load of "what do I do next?" All the files that need to be open are opened for the user; all possible automated changes are made. At this point in the process, the only next step is to...draw the map.
Map Drawing
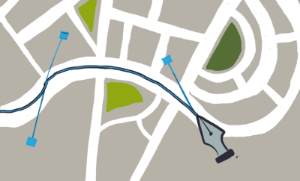
Due to the hand-drawn, simplified style, the map must be drawn manually. I've investigated licensing vector maps, but there's no way to reliably simplify the map to our level of abstraction.
Besides, it's nice to zone out and draw lines for a while.
Assembling the map
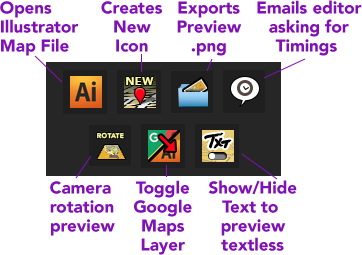
Once the map is drawn (or earlier, if we use the Google Map as reference), all of the details begin to be assembled in AfterEffects. This panel contains all the utilities for that process. Most are self-explanatory, but some are worth detailing more.
Emails editor asking for Timings automatically sends an email (filling in the current project details) to the editors, requesting they export and send the Timings movie for the episode.
Camera rotation preview As the map is initially created from one viewpoint, but the camera moves to many viewpoints in the final animation, this quick camera rotation previews the final viewpoints.
Show/Hide Text to preview textless As files will need to be rendered without text, it's important to preview without text layers.
Map Icons
All Maps have three types of objects (which we call "icons" even though they're not always iconic).
HOUSE ICONS
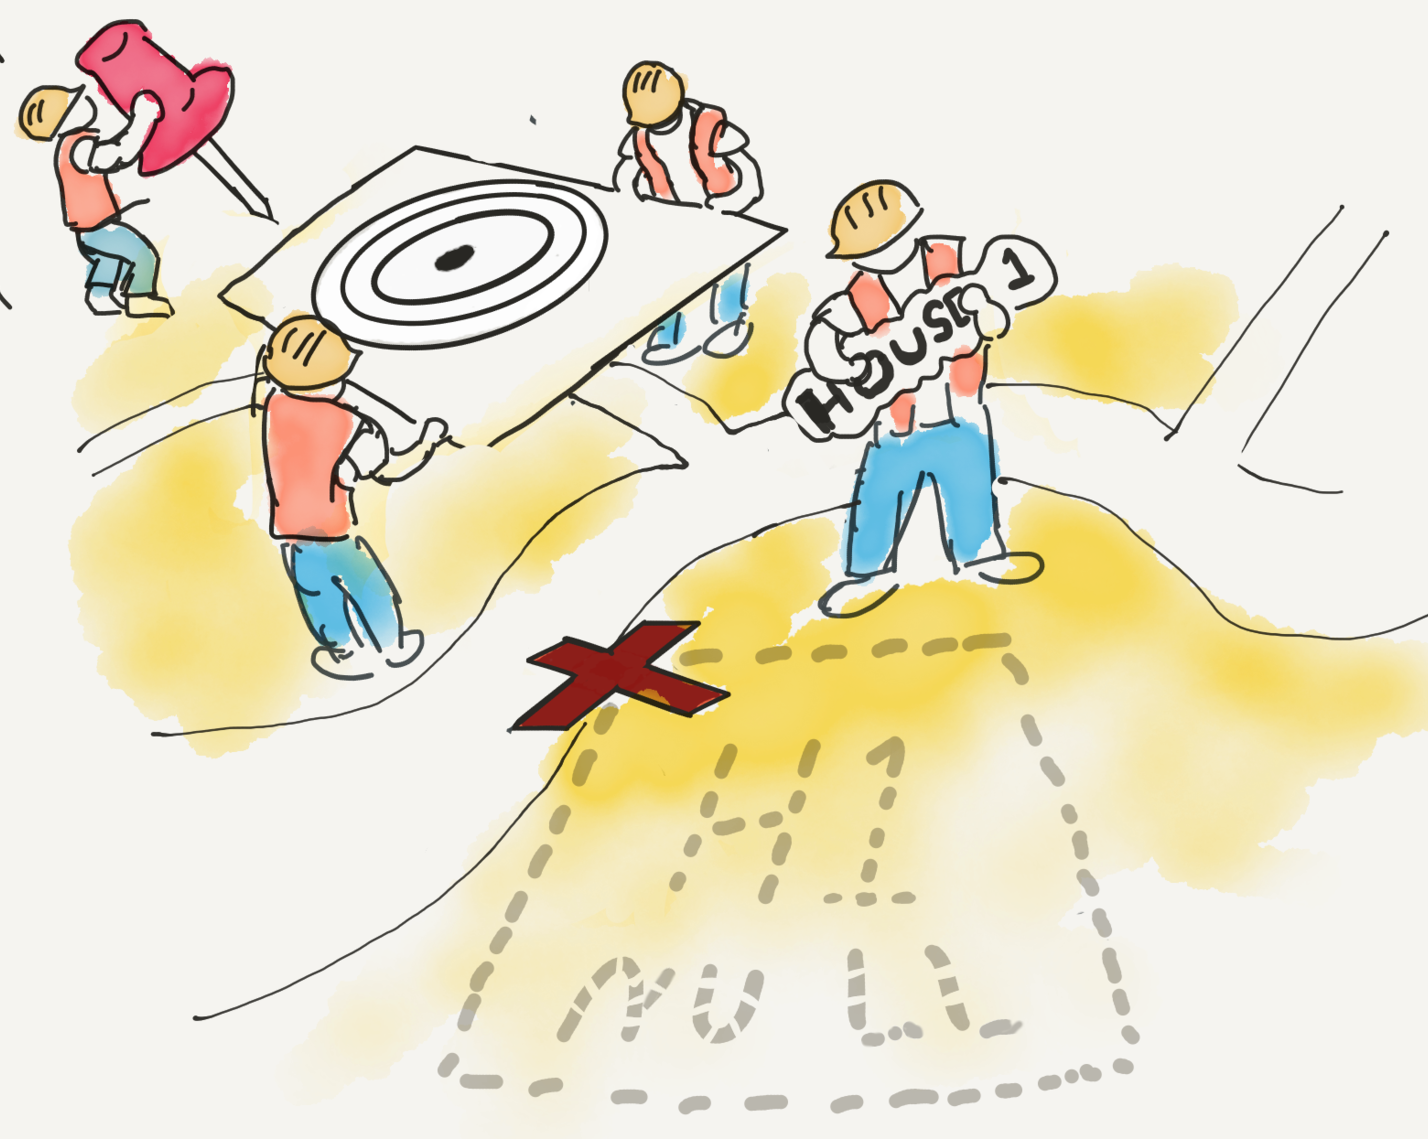
These indicate the locations the contributors are investigating and are the focus of our animations. There are three elements: a push-pin, a label ("House 1"), and a radio wave that emanates out from the impact point. These objects all have specific ways they need to be configured in relation to each other
Configuring all of these layers by hand was extremely time consuming and error prone. So, of course I automated it.
The template now comes with a simple positioning null layer for each house, ready to be dragged into place and then, at the push of a custom button, imports and assembles all of the House Icon layers around the null placement; three decisions, and then one button press. These nulls, and all the subsequent layers are color coded red (1), white (2), and blue (3) for easy identification. (What other three colors have a built-in order?)
Landmark icons
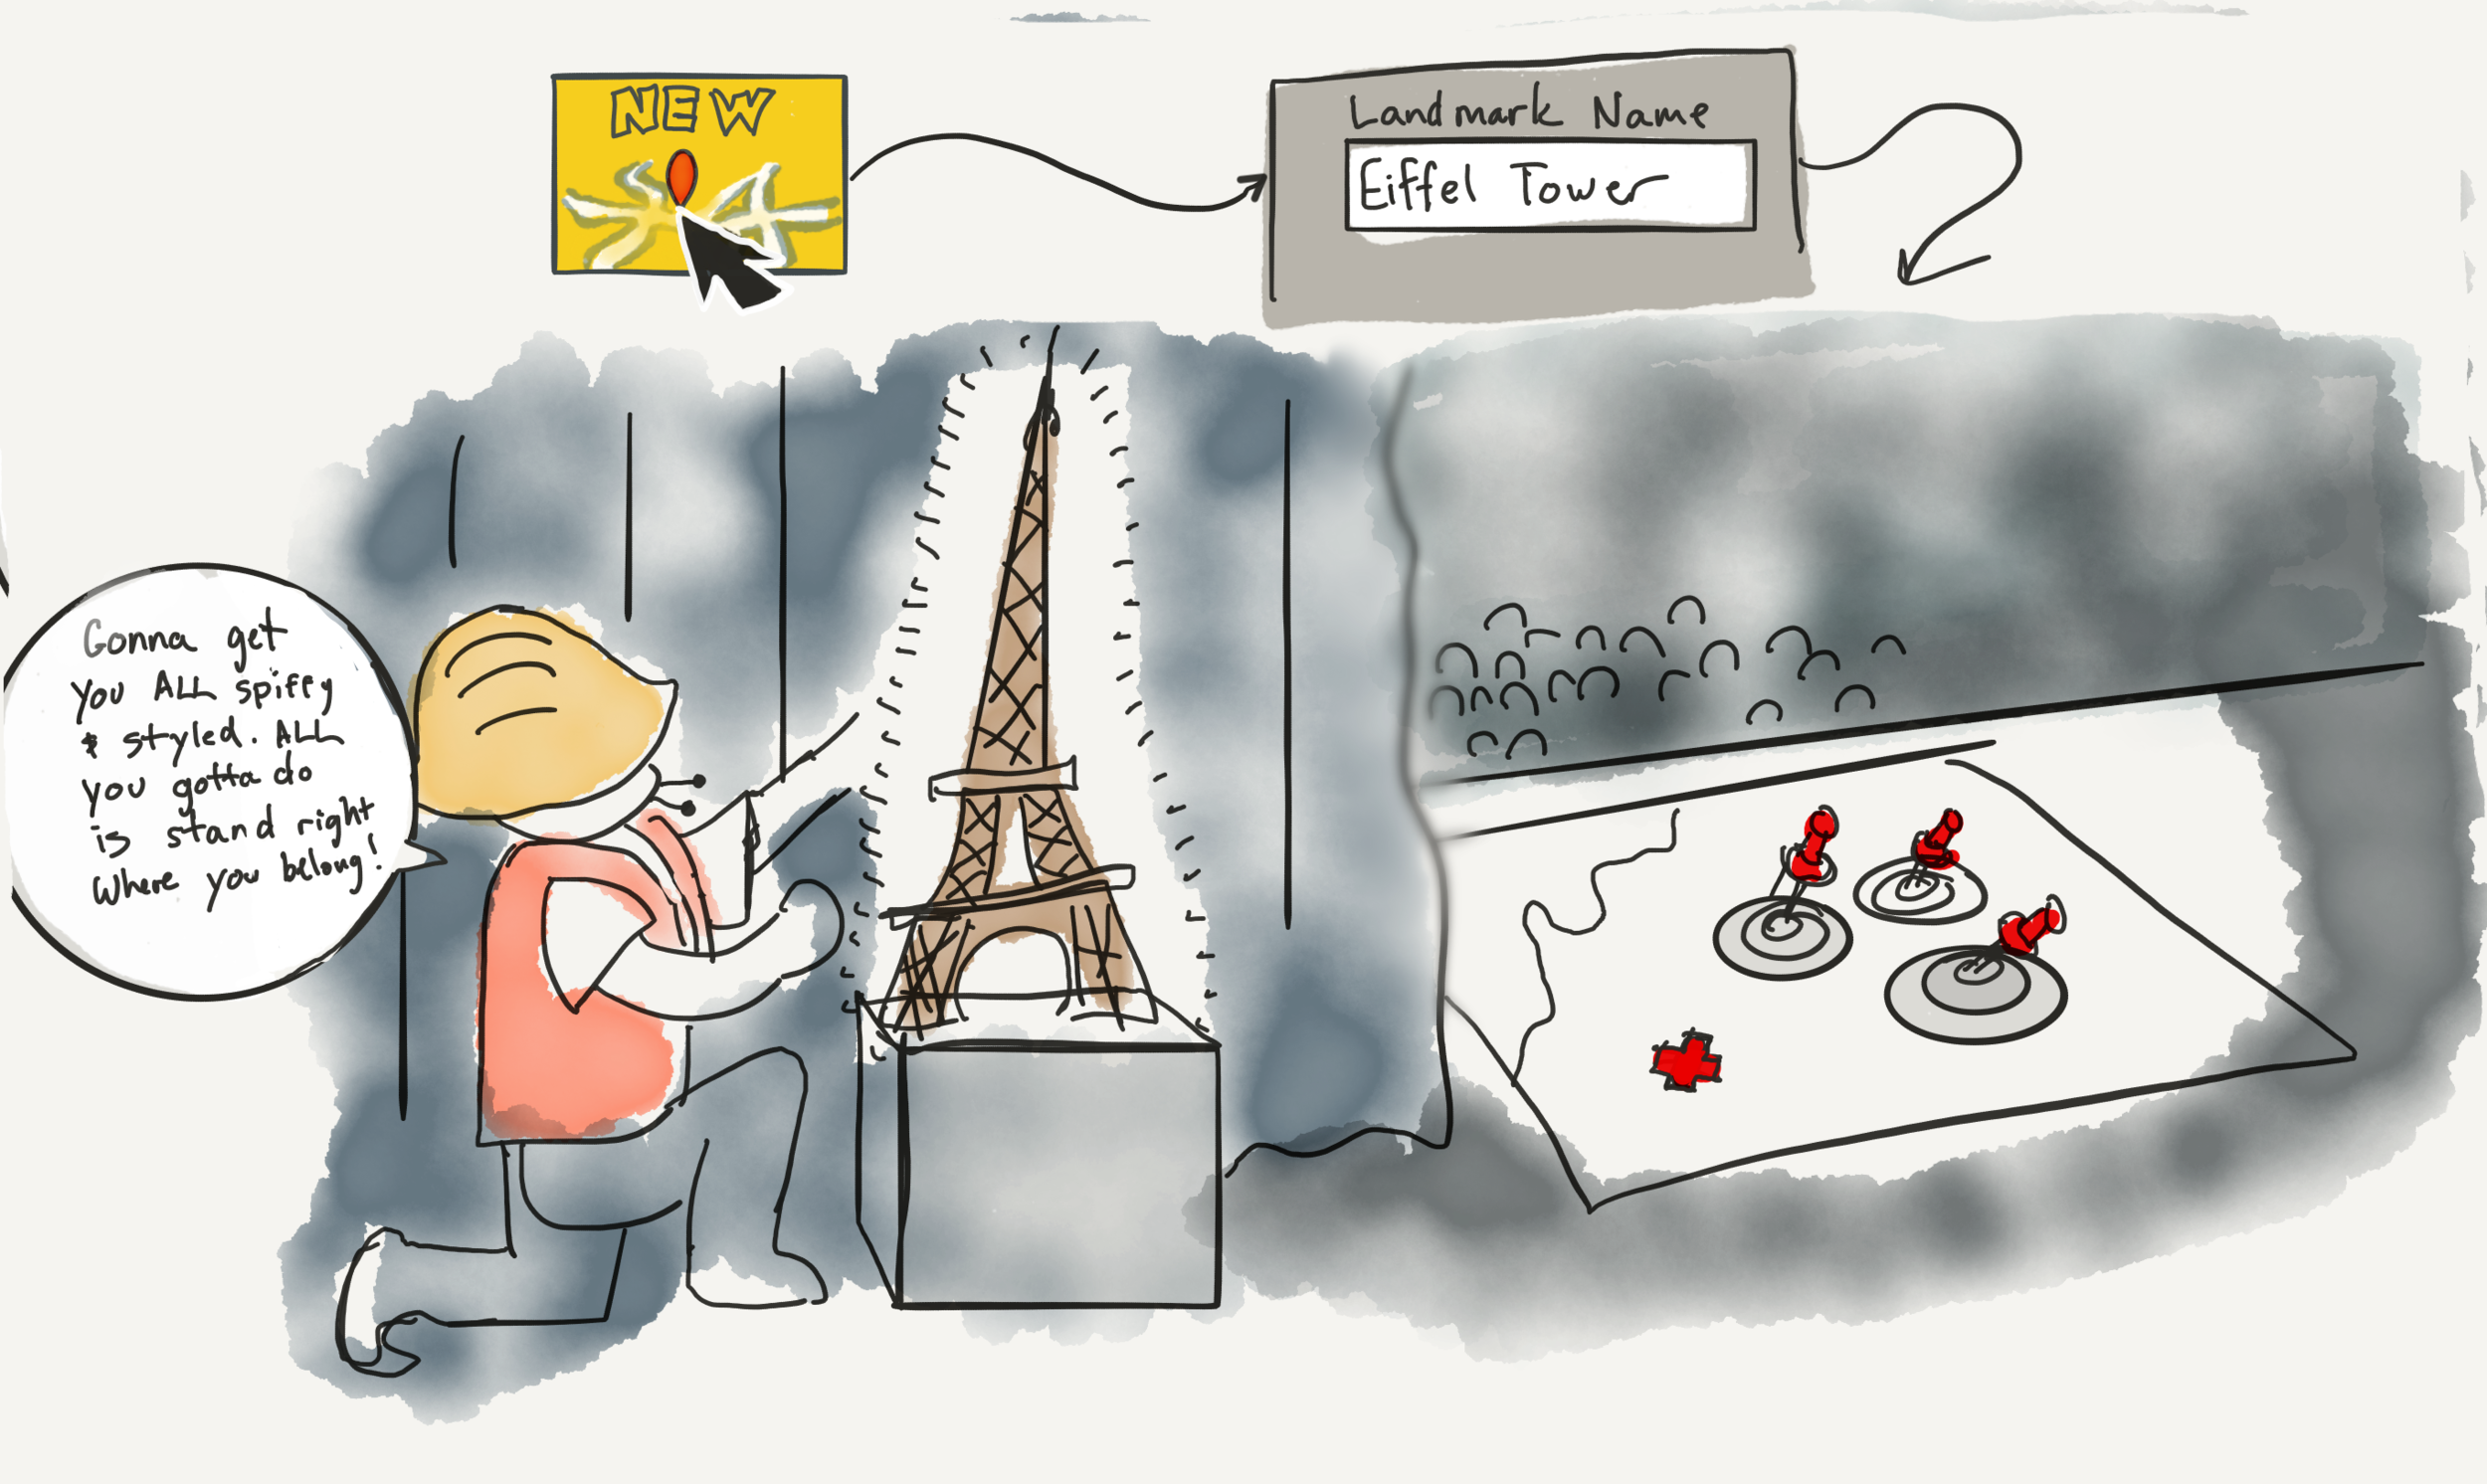
These are images of famous bridges, buildings, sights, and activities around the locations. While these are usually still images, they have specific production needs that were, again, extremely time consuming and error prone.
- Icons need to be parented to the map layer.
- Icons need a rotation expression to rotate around their anchor point at a negative of the camera rotation (so they stand while the camera moves from above the map to the side).
- Icons need to have a specific stroke and glow style.
- Icons (sometimes) need to have a manual shadow created by duplicating and rotating a darkened copy.
- Icons (sometimes) need to have a label.
So, I made a button that pops up a dialog that asks for an icon name, an image file, and has checkboxes for all the options and — upon confirmation — places the icon image on the map; all styled, configured, and even selected, ready to be dragged into the correct position.
Because we want the user to be able to drag freely in 3D space, the icons are all locked to the ground plane with a position expression, allowing the user to be sloppy while the product remains clean.
Population icons
Population Icons have all the same needs as landmark icons, but often need (or contain) animation. This presented a procedural challenge: how do you reuse animations across multiple projects, yet allow them to be easily re-timed?
Because of the need to modify animation in instances, using rendered out movie files with alphas was out of the question. I created the following approach:
- All library Population Icons live within their own After Effects project that has only the assets needed and a Main composition
- This entire project is imported into the current Map After Effects project, which brings in all composition keyframes and timings.
- This composition is placed on the map, where it is given all the attributes of a regular icon (glow, rotation) but also tagged as "animates." (Layers with this tag are handled differently later.)
This allows a canonical icon to be animated and stored in a centralized library, and easily imported and modified per instance for a specific map.
BUILDING THE INDIVIDUAL ANIMATIONS AND CAMERA MOVES
All of the above happens on a temp composition named "Setup." Once the timings have been established, the creation of each individual house map is triggered with these three buttons.
Each button duplicates the "Setup" composition, renames it, and applies map specific camera and icon animation timings.
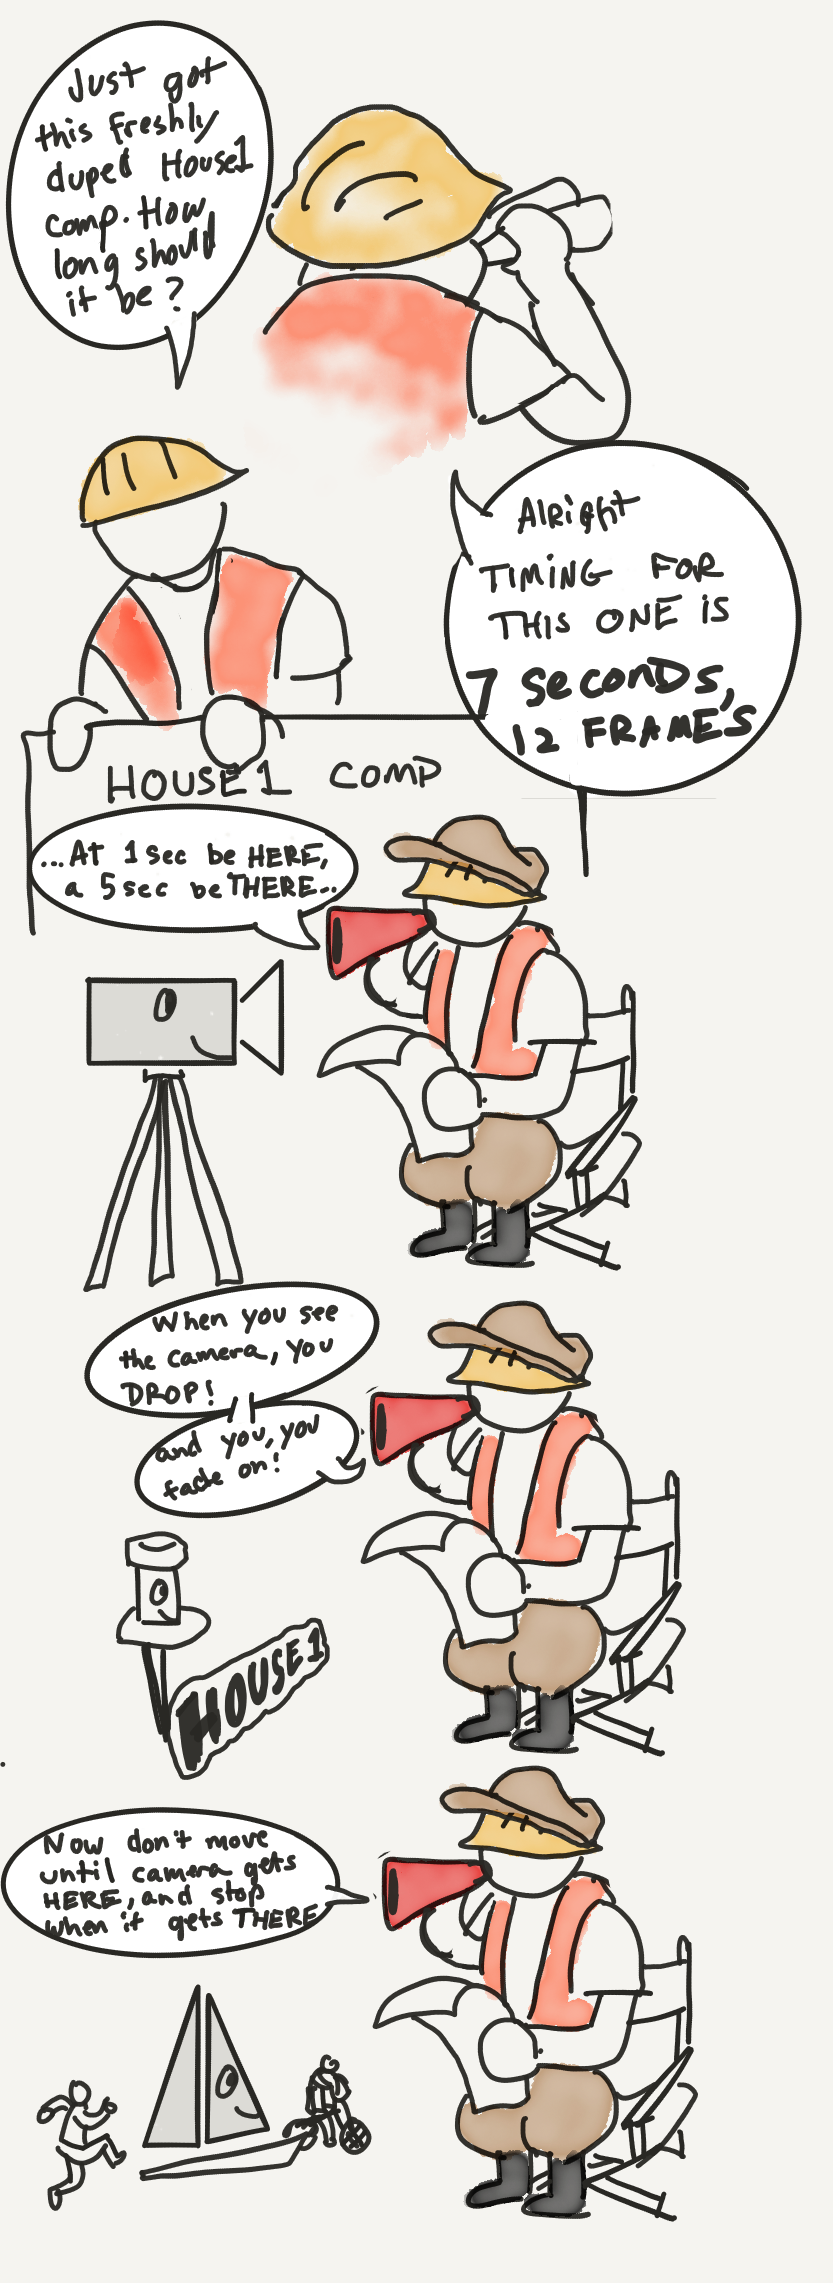
Since the camera move for each House animation is based on the timings in the episode, and certain camera positions trigger pins to drop, or population icons to come to life, there is a lot of choreography and timing-dependent animation. So it's all calculated and automated.
All of this happens with one button push:
- Duplicate our Setup composition and rename to "House 1" (or "2" or "3").
- Get total running time of this Map Animation by querying markers in a Timings composition and set our comp to this length.
- Add camera keyframes at 4 points (slightly different per map):
- Beginning of clip
- 1 second in, where camera is slightly pulled out (anticipation of dive)
- 1:20, where camera is rotated to ground level and pushed into close-up on pin location
- Slightly before end of clip, where camera is rotated and pulled out wide to frame entire map.=
- Modify camera keyframes at (1) and (2) and (3) to be specific variations of default placement.
- Calculate and modify camera keyframes at (3) to frame Push-Pin.
- Time all House Icon layers to animate corresponding to time of (3).
- Loop through all animation layers and set them to freeze until (3) and animate until (4), and to distribute any position or rotation keyframes along time between (3) and (4).
With this code, almost the entire creation of a tightly choreographed 7-10 second animation is generated, and made available for finessing and plussing. Any work that is done after, is done in the context of "how can this animation be made better?" not "how can I be sure that the timing for this layer isn't wrong?"
This has allowed me to deliver higher quality and more consistent animations much quicker than ever before. Just as important, working with this system is a joy and a pleasure. When a system understands you, does what you want and need it to, and lets you spend more time on the fun parts, it barely feels like work at all.
Animation Utilities
When plussing the generated animation, I've needed several functions, all of which I've built and integrated into my interface.
To jump to specific moments along camera move. Having these five buttons (beginning of clip, start of camera dive, end of camera dive, camera stop, and end of clip) allows me to quickly skip through all key moments of a Map Animation, no matter my timeline magnification or current time position. Abstracting out these global moves enables me to think and do, instantantly.
To focus on certain sets of layers. There can be 30 to 40 layers in a composition, and After Effects' method to hide layers is a fiddly, four-step operation. These buttons empower me to see only camera, only camera & pin (to optimize timing), only animated layers (for spot checking or customizing timings), and only selected layers .
To modify an objects attributes across all three separate instances (H1, H2, H3) of each Map Animation. Often, notes will come in after all animations have been generated "move this Landmark icon a bit to the left and smaller." This needs to be updated in all three separate animations. This button allows the user to quickly make changes on one instance and push those values to the other instances.
To reconfigure animation. Occasionally, due to complex or specific Population Icon animations, an animation will need to be re-conformed to proper holds and timings. This button allows re-triggering of this keyframe checking and changing.
Shortcuts to EXTERNAL Utilities
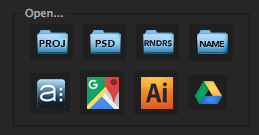
Often, there are external references or sites that I need to open to help with the Map Animation; this panel collects all those options.
Top Row consists of links to local Folders: Project Folder, Icons Folder, Renders Folder, and a Name dialog that pops up a copy-able version of the project name, to use on all emails referencing this project.
Bottom Row consists of (mostly) web-apps: Asana page for this project, Google Maps link for this map, Illustrator link to open the landscape drawing, and a link to the Google Drive folder for this project.
Post Mortem
I've built sharp knives to handle this workflow...and they work. While I'm constantly adding features, the core of this script has been around since January 2016 and as of June 2016, I've consistently delivered three to five maps a week...and it feels easy. The only decisions to be made are fun ones. Because of this time saving, I've been able to add numerous, fun, population animations, while still meeting deadlines and leaving work on time.
On my first day, the previous designer said the reason he was leaving was overwork, that there was just too much to handle. I don't doubt him for a moment, but I feel like I know a secret: structure can be found, work can be transferred, reduced, or even solved completely. The only decisions we as designers should have to make are "can this be made better?" Almost always, the answer is yes, even when talking about the work itself.
